CREATIVE • KIDS’ ART
A simple and meaningful way to turn favorite drawings, paintings and little masterpieces into a keepsake you can enjoy at home.
Kids can create an amazing amount of artwork. There are colorful paintings, funny little drawings, handprints, scribbles and pictures that somehow become too special to throw away.
But after a while, all those beautiful pieces can start filling drawers, folders and boxes.
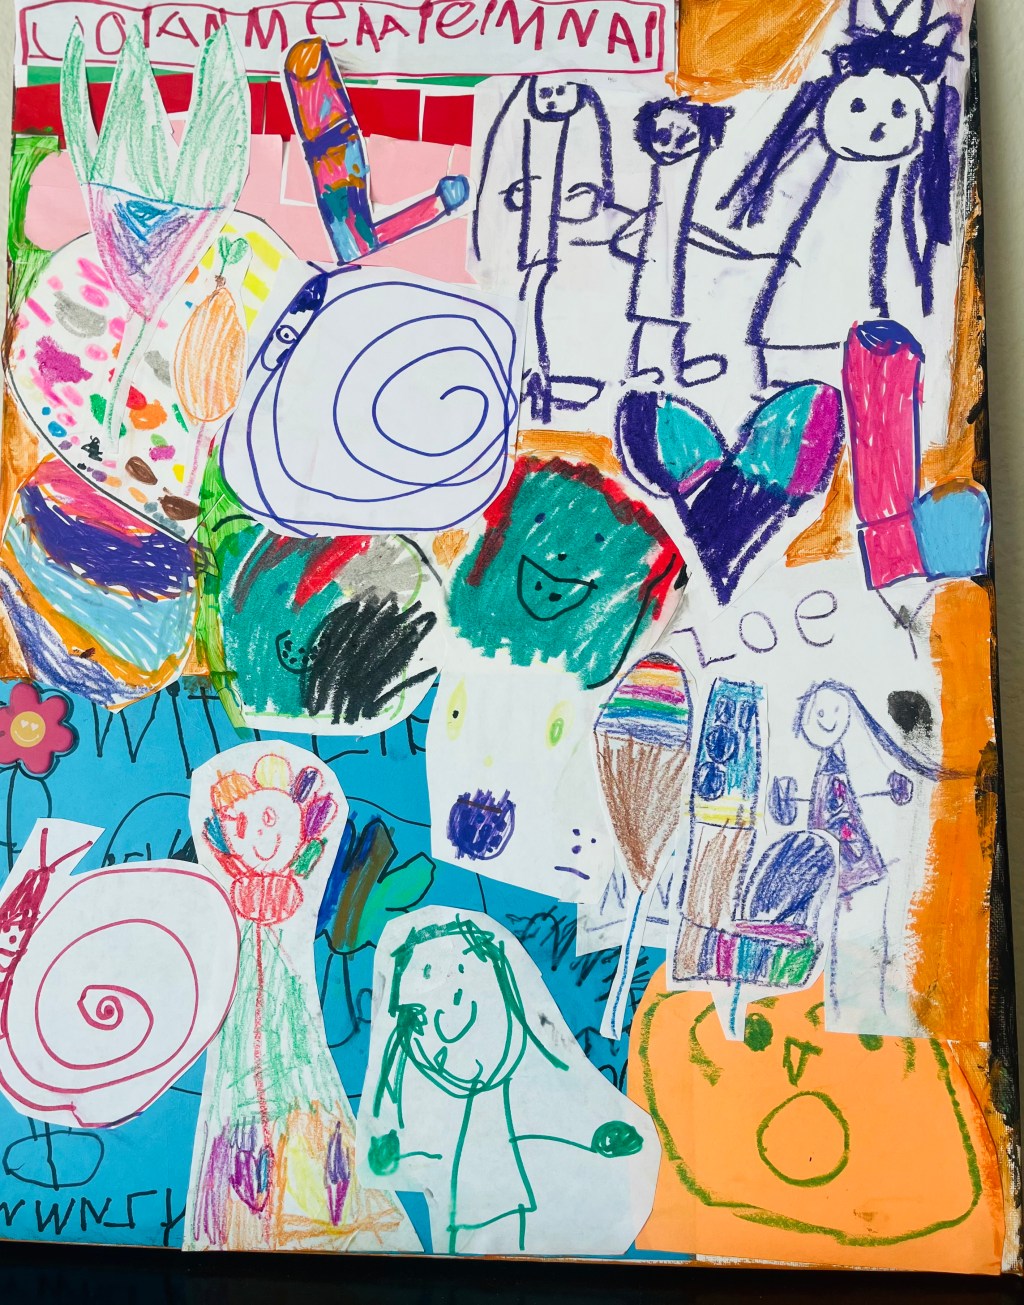
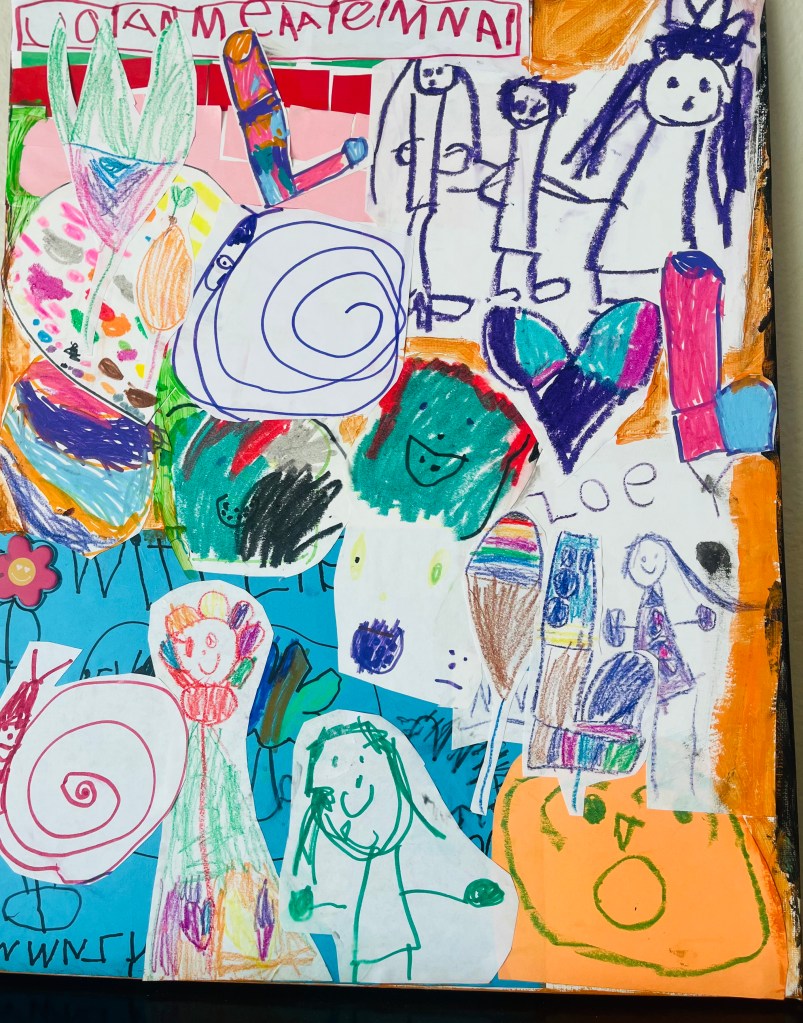
Instead of storing every favorite picture away, I love the idea of choosing a collection of special pieces and turning them into one colorful keepsake canvas.
The finished canvas becomes more than just a craft project. It’s a little snapshot of childhood — favorite colors, tiny handwriting, imaginative drawings and all the wonderfully imperfect things kids create.
🌿 Little Z’s Creative Note
Don’t try to make it perfect. Crooked lines, tiny handprints, funny drawings and unexpected colors are exactly what make this project special.
A MEANINGFUL WAY TO SAVE THEIR ART
Why Make a Kids’ Art Canvas?
I like this project because it gives children’s artwork another life. Instead of disappearing into a storage box, favorite pieces become something the whole family can see and enjoy.
It can also be a fun way to capture a particular stage of childhood. You could make one canvas every year, create one from preschool artwork, or combine favorite pieces collected over several years.
WHAT YOU’LL NEED
Supplies
- Blank stretched canvas
- A collection of your child’s artwork
- Scissors
- Matte Mod Podge or another decoupage medium
- Soft or foam brush
- Glue stick for temporarily positioning pieces
- Optional small roller or brayer for smoothing
- Phone or camera for photographing the original artwork
BEFORE YOU CUT ANYTHING
Photograph the Original Artwork
Before cutting or gluing any of the original pieces, take a clear photograph of each one.
Once the artwork becomes part of the canvas, you may not be able to return it to its original condition. Having a digital photo means you can still keep the complete drawing or painting, even if you only use part of it in the collage.
01 • GATHER
Choose Your Favorite Artwork
Gather a selection of drawings, paintings and other artwork that you would love to preserve.
Try choosing pieces with a variety of colors, shapes and textures. Handwriting, little doodles, painted sections and handprints can all add personality to the finished canvas.
02 • ARRANGE
Plan the Canvas
Before using any glue, place the artwork over the canvas and experiment with different arrangements.
Let some pieces overlap. Try turning others at different angles. You don’t need to keep every drawing as a perfect rectangle either — interesting shapes and smaller details can make the finished collage feel much more playful.
Keep moving things around until the canvas feels balanced and you can see a little bit of your child’s personality everywhere you look.
03 • TRIM & LAYER
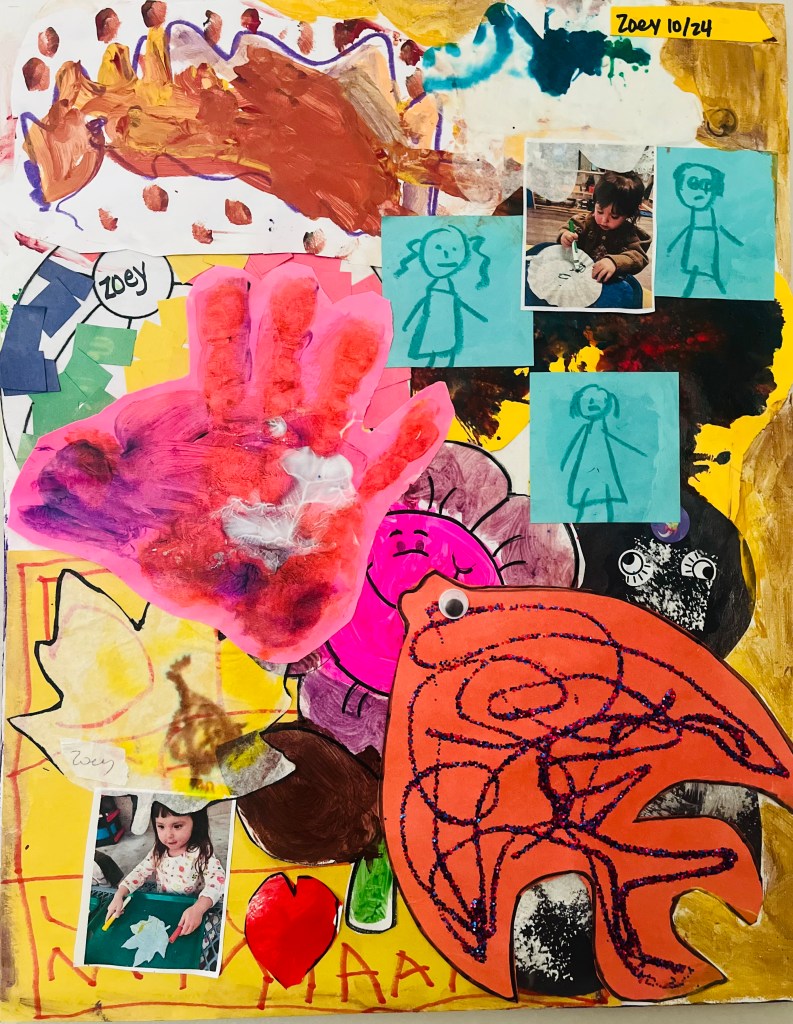
Cut Out Your Favorite Details
Once you have a general layout in mind, start trimming the artwork.
You don’t have to use every piece in its entirety. Try cutting around a favorite drawing, a painted section, a funny little character, handwriting, handprints or colorful shapes.
Combining large pieces with smaller details helps create layers and makes the canvas more interesting to look at.
04 • ATTACH
Attach the Artwork
Work gradually rather than trying to glue everything at once.
Apply a thin, even layer of decoupage medium, place the artwork onto the canvas, and gently smooth it down.
Continue adding pieces and overlapping them until the canvas is covered the way you like.
🌿 Go Slowly
Children’s artwork can be made with many different paints, markers and papers. Test the decoupage medium on a small area first if you’re worried about colors bleeding or paper wrinkling.
05 • SMOOTH
Smooth & Finish the Canvas
Gently smooth each piece as you work to remove large air bubbles and help the paper lie flat.
Once everything is attached, allow the canvas to dry according to the directions for the adhesive or decoupage medium you’re using.
Remember that handmade doesn’t have to mean perfectly flat or perfectly straight. A little texture can become part of the character of the finished piece.
06 • DISPLAY
Find a Special Place for It
Once the canvas is completely dry, find a place where everyone can enjoy it.
A hallway, playroom, child’s bedroom or family room can all be lovely places for displaying children’s artwork.
And don’t forget to let your little artist see their work hanging proudly on the wall.
Make It Your Own
More Kids’ Art Canvas Ideas
- Make one canvas for each year of childhood.
- Create a preschool or kindergarten keepsake canvas.
- Use artwork from one special season or holiday.
- Combine drawings with little pieces of handwriting.
- Add the child’s age and year discreetly to the back.
- Make a smaller canvas as a handmade gift for grandparents.
A Little Piece of Childhood
More Than a Craft Project
What I love most about this idea is that the finished canvas isn’t really about making perfect wall art.
It’s a little snapshot of childhood — favorite colors, tiny handwriting, imaginative drawings, crooked lines and all.
Years from now, those wonderfully imperfect little pieces may be exactly what makes the canvas so special.
The goal isn’t to make their artwork perfect. It’s to make a place for the little creative moments you don’t want to forget.
Simple days. Creative moments. Little joys.
Little Z’s Corner


Leave a comment