RECIPES • BAKING
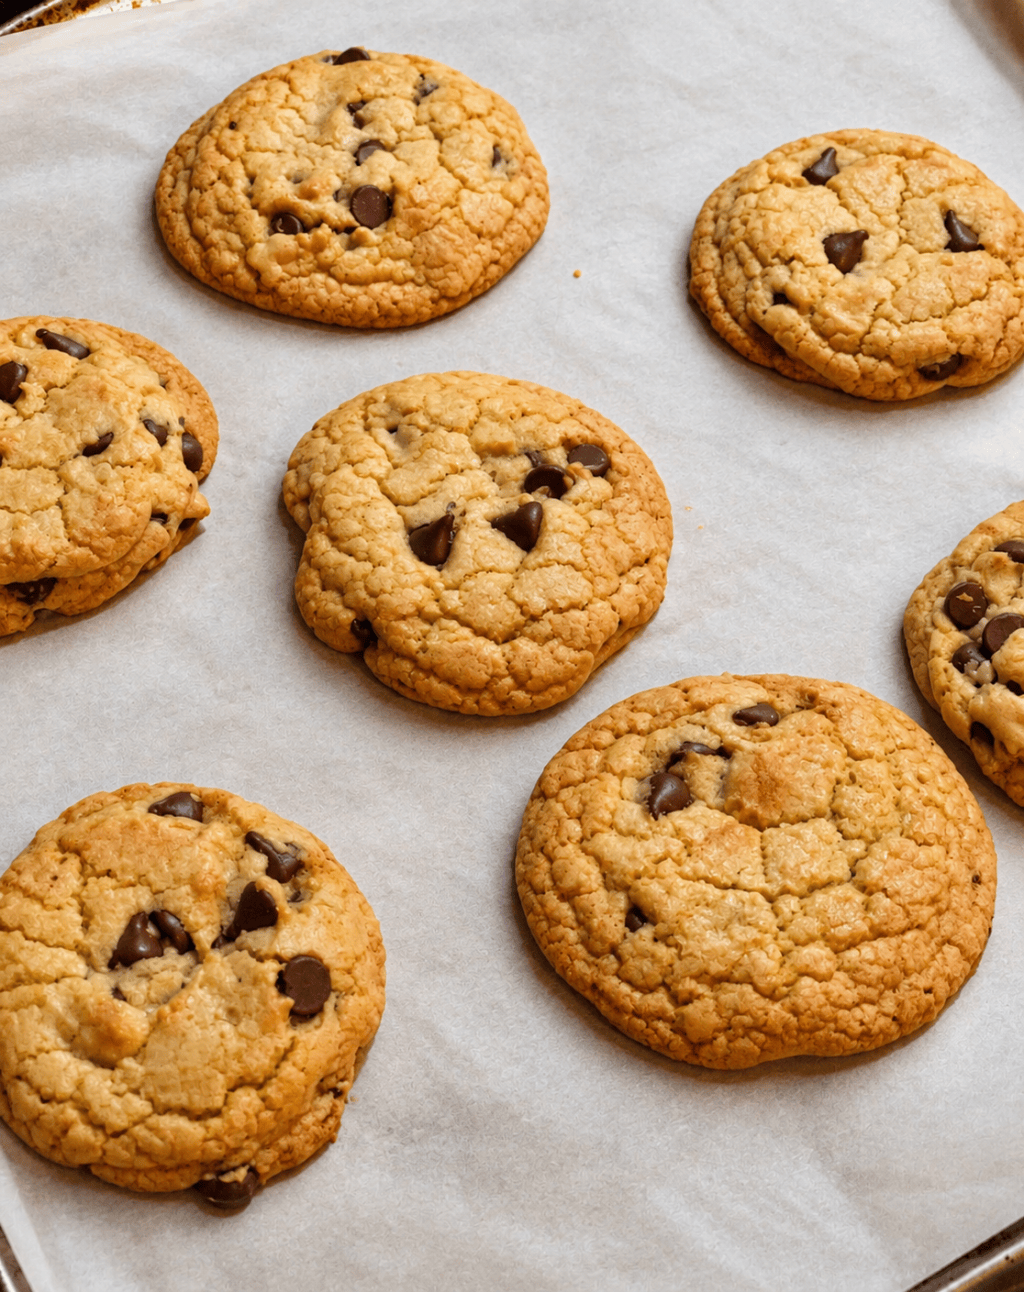
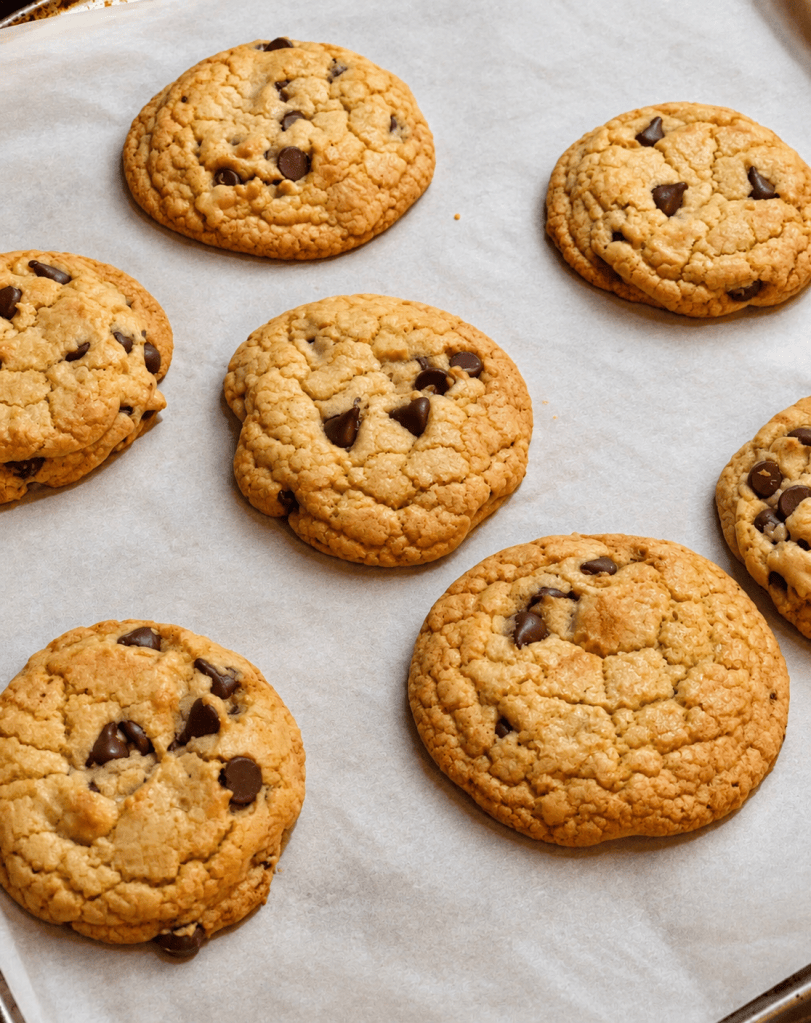
Thick, chewy and generously filled with chocolate — the kind of homemade cookie you might find at a little neighborhood farm stand.
There is something special about a big homemade chocolate chip cookie — golden around the edges, thick and chewy in the middle, with plenty of melted chocolate in every bite.
I wanted these cookies to feel like something you might find at a little neighborhood farm stand or weekend bakery: rustic, generous and unmistakably homemade.
They’re large, but not quite the enormous Levain-style cookies. At about 70 grams each, they’re just the right size for a bakery-style treat while still feeling like a classic chocolate chip cookie.
The secret is a little extra flour, more brown sugar than white sugar, and giving the dough plenty of time to chill before baking.
MAKES
15 Cookies
PREP
20 Minutes
CHILL
2–24 Hours
BAKE
11–14 Minutes
🍪 Little Z’s Baking Note
If you have the time, make the dough the night before. An overnight rest gives these cookies wonderful flavor and makes it easy to bake a fresh batch the next morning.
WHAT YOU’LL NEED
Ingredients
- 225 g butter, softened
- 200 g light brown sugar
- 150 g granulated sugar
- 2 large eggs, about 100 g without shells
- 10 g pure vanilla extract
- 390 g all-purpose flour
- 5 g baking soda
- 3 g baking powder
- 4 g fine sea salt
- 340 g semi-sweet chocolate chips
Note: If using salted butter, reduce the added salt to approximately 2–3 g.
LET’S BAKE
How to Make Them
01 • CREAM
Cream the Butter & Sugars
Add the softened butter, brown sugar and granulated sugar to a large mixing bowl.
Beat for about 2–3 minutes, until creamy and slightly lighter in texture.
You don’t need to whip the mixture until extremely fluffy. A shorter mixing time helps these cookies stay nice and thick.
02 • MIX
Add the Eggs & Vanilla
Add the eggs one at a time, mixing after each addition.
Add the vanilla and mix just until everything is combined.
03 • COMBINE
Add the Dry Ingredients
In a separate bowl, whisk together the flour, baking soda, baking powder and salt.
Gradually add the dry ingredients to the butter mixture and mix on low speed just until you can no longer see dry flour.
Avoid overmixing the dough.
04 • CHOCOLATE
Fold in the Chocolate Chips
Set aside approximately some of the chocolate chips for topping the cookies.
Fold the remaining chocolate chips into the dough until evenly distributed.
05 • PORTION
Make 15 Large Cookies
Divide the dough into approximately 65-70g portions or use cookie scoop is also recommended.
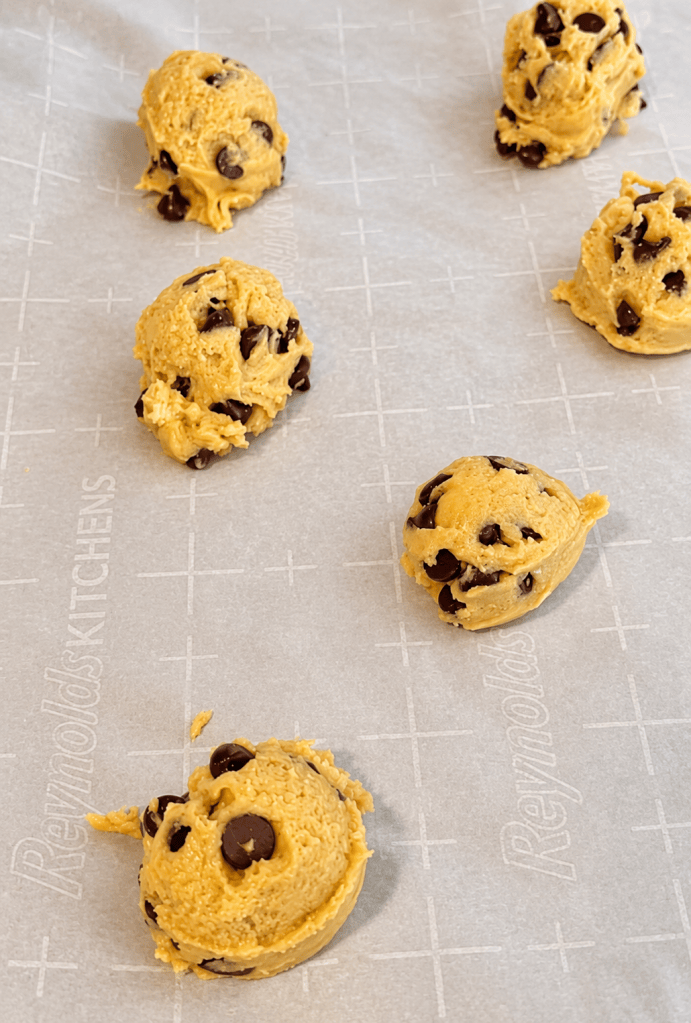
Shape each portion into a tall, loosely formed ball. Don’t make them perfectly smooth — a slightly uneven surface gives the finished cookies that rustic bakery-style look.
Press a few of the reserved chocolate chips into the top of each cookie.
06 • CHILL
Chill the Dough
Arrange the cookie dough balls on a tray, cover and refrigerate for at least 2 hours.
For even better flavor and texture, refrigerate the dough for 12–24 hours.
This is my favorite way to prepare them because you can make the dough the night before and simply bake fresh cookies the next morning.
07 • BAKE
Bake Until Just Golden
Preheat the oven to 375°F (190°C).
Line a baking sheet with parchment paper. Place the chilled cookie dough on the baking sheet, leaving plenty of room between each cookie.
I usually bake about 5 cookies at a time so they have plenty of room to spread.
Bake for approximately 8-10 minutes.
The edges should look golden while the centers still look slightly soft and underbaked.
🌿 DON’T WAIT FOR THE CENTER
If the center looks completely baked while the cookies are still in the oven, you’ve probably left them in a little too long. The soft center will continue setting on the hot baking sheet.
08 • COOL
Let Them Finish on the Baking Sheet
Remove the pan from the oven and leave the cookies on the hot baking sheet for about 10 minutes.
They’ll continue cooking gently from the residual heat, giving you a soft center without an undercooked texture.
Transfer the cookies to a cooling rack and allow them to finish cooling.
WHY THIS RECIPE WORKS
The Secret to Thick, Chewy Cookies
There are three little things that make a big difference in this recipe.
01
More Brown Sugar
Brown sugar adds moisture and helps create that chewy center, while the granulated sugar still gives the edges a little crispness.
02
A Little Extra Flour
The additional flour gives these larger cookies enough structure so they don’t spread too thin in the oven.
03
Don’t Skip the Chill
Even two hours makes a difference, but an overnight rest gives the flour time to hydrate, lets the flavors develop and helps the cold cookie dough spread more slowly in the oven.
THE PERFECT BAKE
How to Know When They’re Done
One of the easiest ways to lose that thick, chewy texture is to overbake the cookies.
Don’t wait for the centers to look completely done.
Golden edges + lightly golden top
+ soft-looking center = ready.
They may look like they need another couple of minutes, but resist the temptation.
Once cooled, you’ll have cookies that are slightly crisp around the outside and wonderfully soft and chewy inside.
SAVE SOME FOR LATER
Make-Ahead & Freezer Option
This is also a great cookie dough to keep in the freezer.
After portioning the dough into 90 g balls, refrigerate them until firm and then transfer them to a freezer-safe container.
When you’re craving a fresh cookie, bake only as many as you want. They can be baked from frozen; they’ll simply need a little additional baking time.
That means warm chocolate chip cookies don’t have to become an entire afternoon project.
A Little Homemade Is Better
Don’t worry about making every cookie perfectly round.
I actually love when one spreads a little more than another, or when a chocolate chip melts right at the edge. That’s part of what makes homemade cookies so inviting.
These are the cookies I imagine sitting in a little basket at a neighborhood bakery stand next to fresh sourdough bread — simple, generously sized and best eaten while they’re still just a little warm.
Simple days. Creative moments. Little joys.
Little Z’s Corner


Leave a comment